How can I track my event app’s
usage statistics?
How to connect your event app with Google Analytics or Matomo
Content
Google Analytics
Create Your Google Analytics User Account
In order to measure statistics for your event you first need to create a free Google Analytics account. If you don’t have an account yet, follow this link and create one.
Create a New Account Within Google Analytics
Once you’ve created your Google Analytics user account, look for “Admin” and create a new “Analytics Account” (please note that this needs to be done in addition to the previously created user account). Click on the button “+ Create” and select “Account”. Go through the following steps (in case you’re a new Google Analytics user, you’ll most likely be redirected to the following steps automatically):
Step 1: Under “Account details” go to “Account name” and enter a name (e.g. Philipp’s Tracking), set the data sharing settings as desired (you can safely disable all options) and click on “Next”.
Step 2: Under “Property details” go to “Property name” and enter a name (e.g. Philipp’s LineUpr Events). To get your statistics within the desired time zone, it is important that you select the correct one here. Click on “Next” to continue.
Step 3: Under “Business details” select the appropriate “Industry category” and “Business size”.
Step 4: Under “Choose your business objectives” select the goals you want to achieve with your app.
Step 5: Click on “Create”. Please read the terms of service carefully before you click on “I accept” and continue.
Step 6: Under “Start collecting data”, You will then be prompted to “Choose a platform”. Select the option “Web”.
Step 7: Under “Set up your web stream” enter the following details:
- Website URL: Select “https:” and enter your LineUpr domain (e.g.
philipp.lineupr.com). - Stream name: Enter a suitable name (e.g.
Philipp’s LineUpr Events).
Step 8: You can skip the “Enhanced measurement” setting.
Step 9: Click on “Create & Continue”.
After that you will see your newly created measurement ID, which will look like this: G-XXXXXXXX.
Activate Google Analytics in Your Event Settings
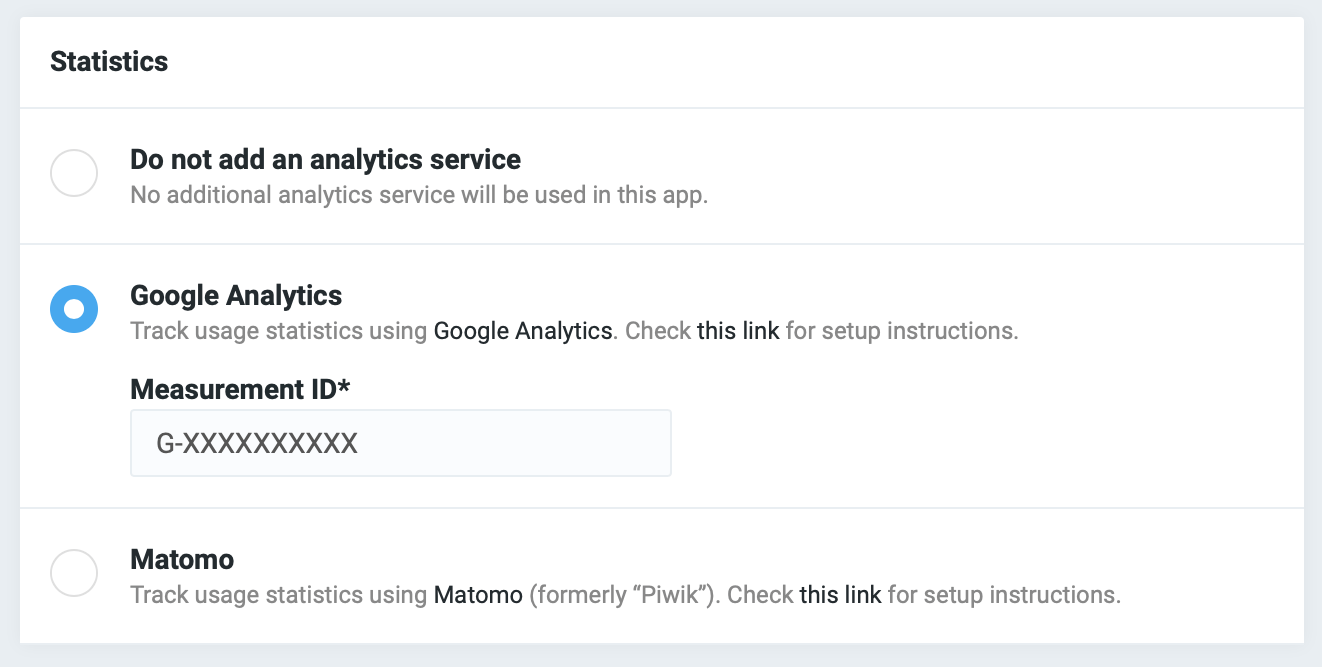
Copy the measurement ID, open the app you want to enable analytics for in the LineUpr Manager and navigate to Settings → General. Scroll to the box “Statistics”, select the option “Google Analytics” and insert the measurement ID there:
Access Your Statistics
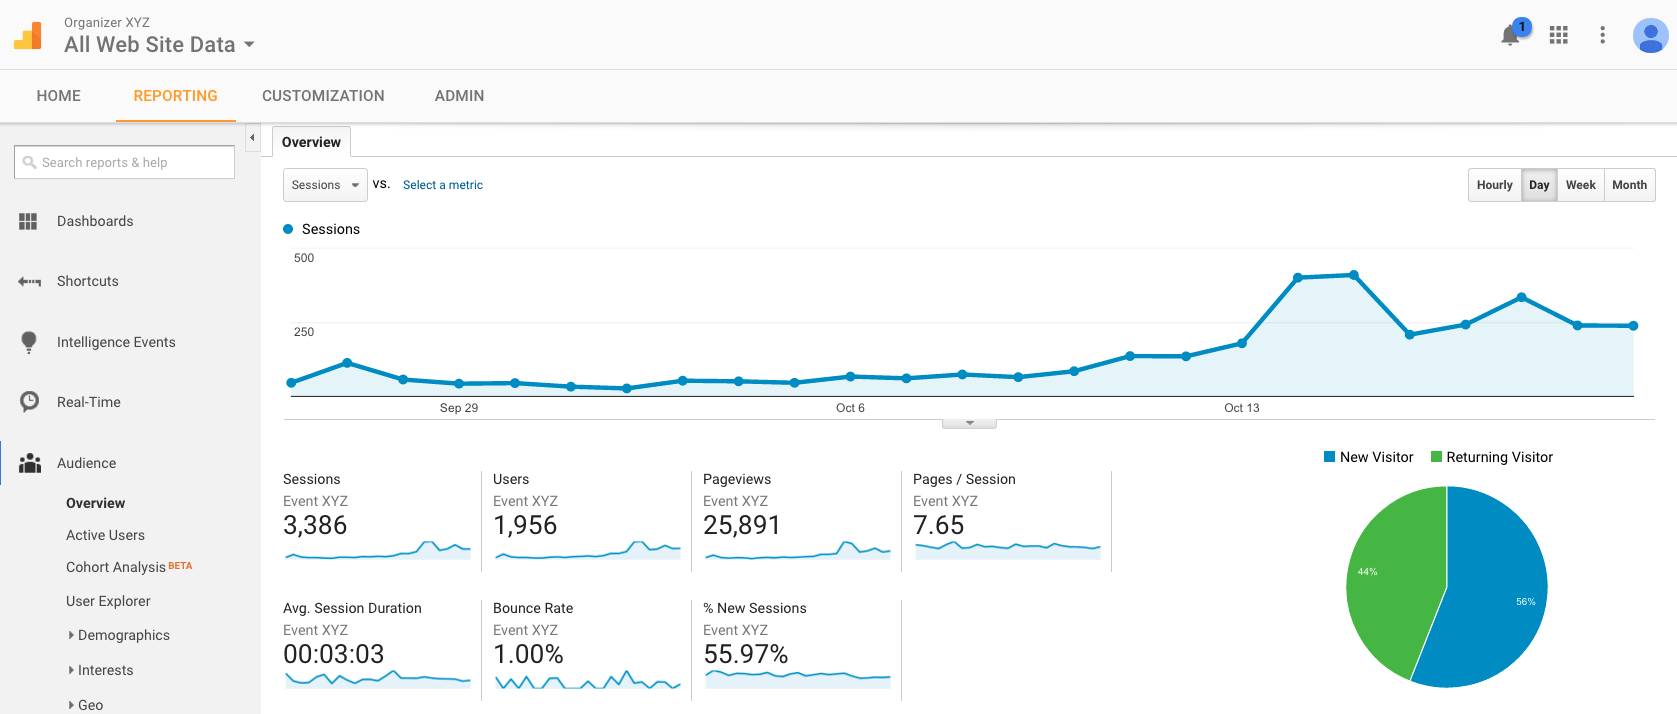
Done! From now on Google Analytics will track your app’s usage statistics and show them in your Google Analytics account. Be patient though, it might take a few hours until it is fully enabled and first results are shown.
Matomo
You can use Matomo (formerly “Piwik”) as a cloud solution — similar to Google Analytics — or alternatively host it on your own server (i.e. “on premise”). The steps described below apply to both scenarios (unless stated otherwise).
Set up Matomo Account (Cloud)
If you do not have a Matomo account yet, you can register here for a free three-week trial period.
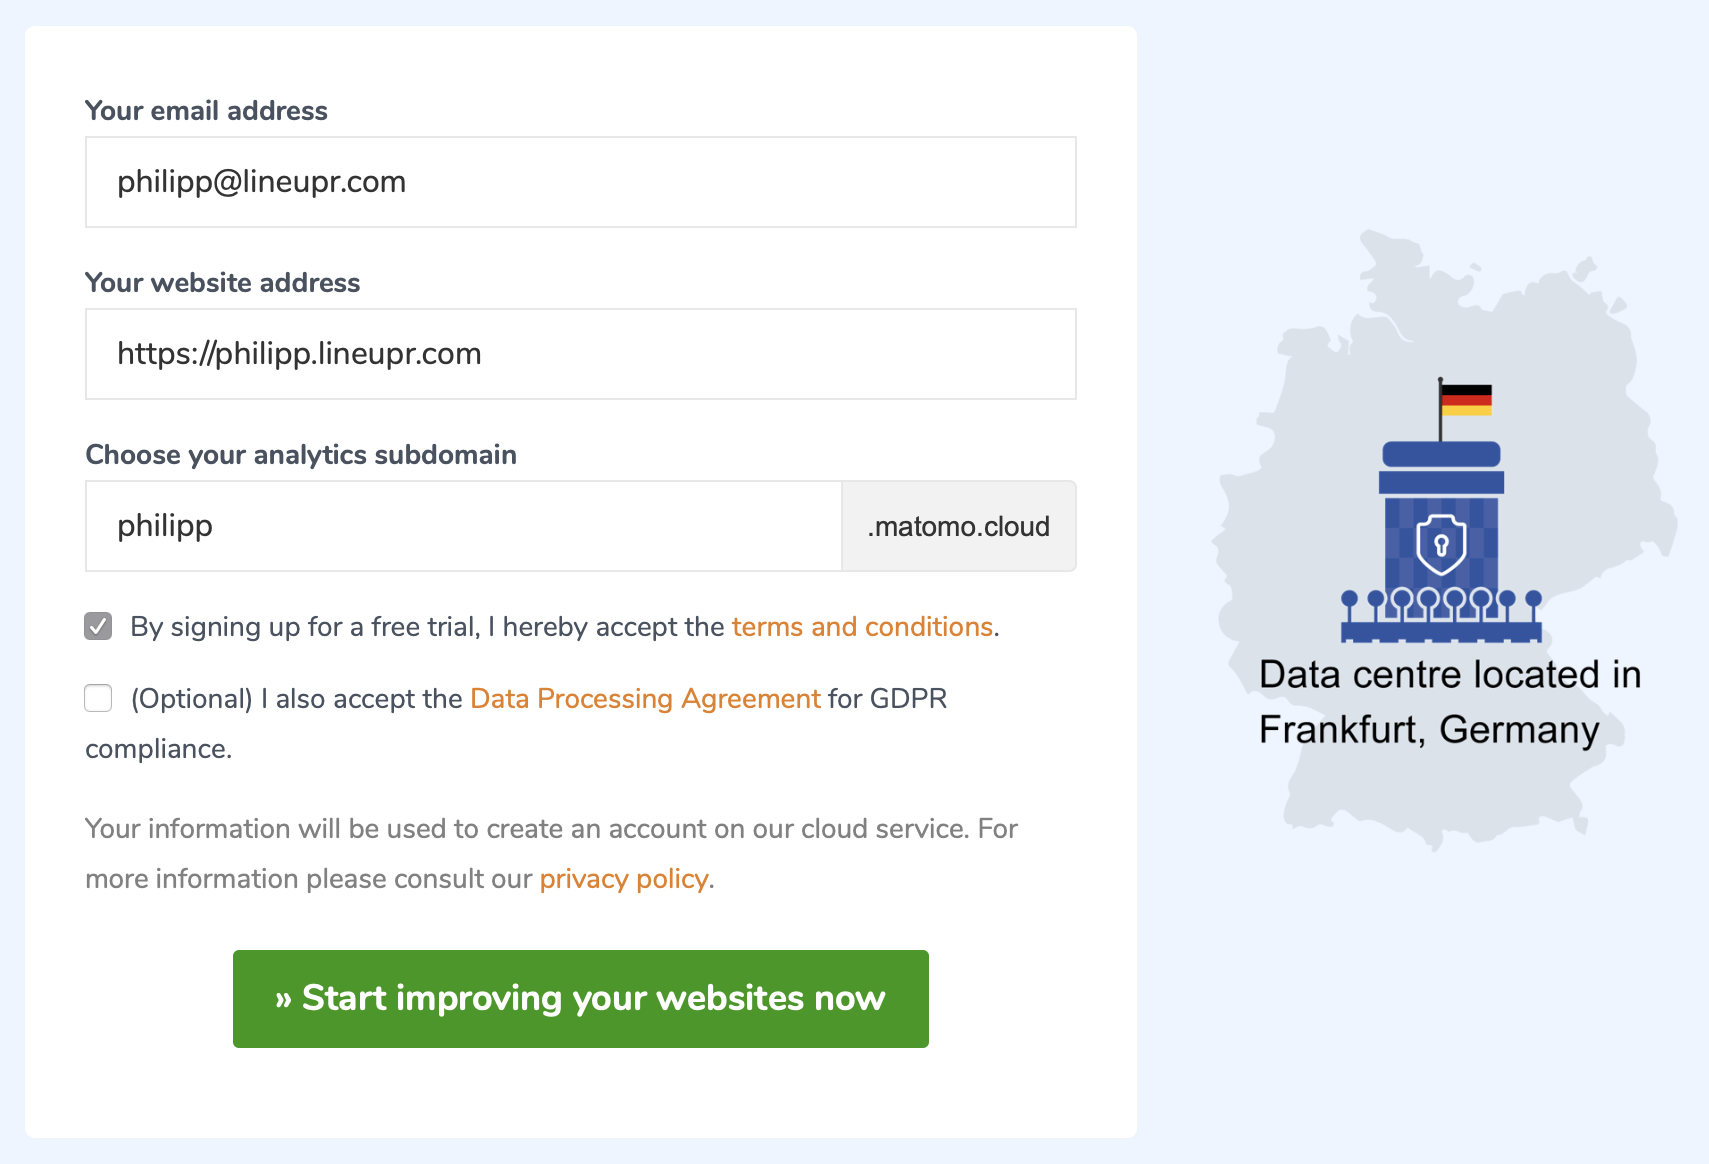
When registering, enter the address of your LineUpr organizer domain under “Your website address” (e.g. https://philipp.lineupr.com). Then click on the link “change” below the input field and define your new Matomo subdomain in the field “Choose your analytics subdomain” (e.g. philipp.matomo.cloud). Agree to the terms of use and optionally the GDPR agreement and complete the registration.
Matomo on Your Own Server (On Premise)
To install Matomo on your own server, please follow the instructions on this page. A comparison between “cloud” and “on premise” can be found here. Please understand that we cannot offer any further support for the on-premise setup.
Create New Website in Matomo
Log in to your Matomo account. If you are using Matomo in the cloud, open the URL you specified during registration (e.g. https://philipp.matomo.cloud). If you are using a self-hosted Matomo, go to the URL of your Matomo instance.
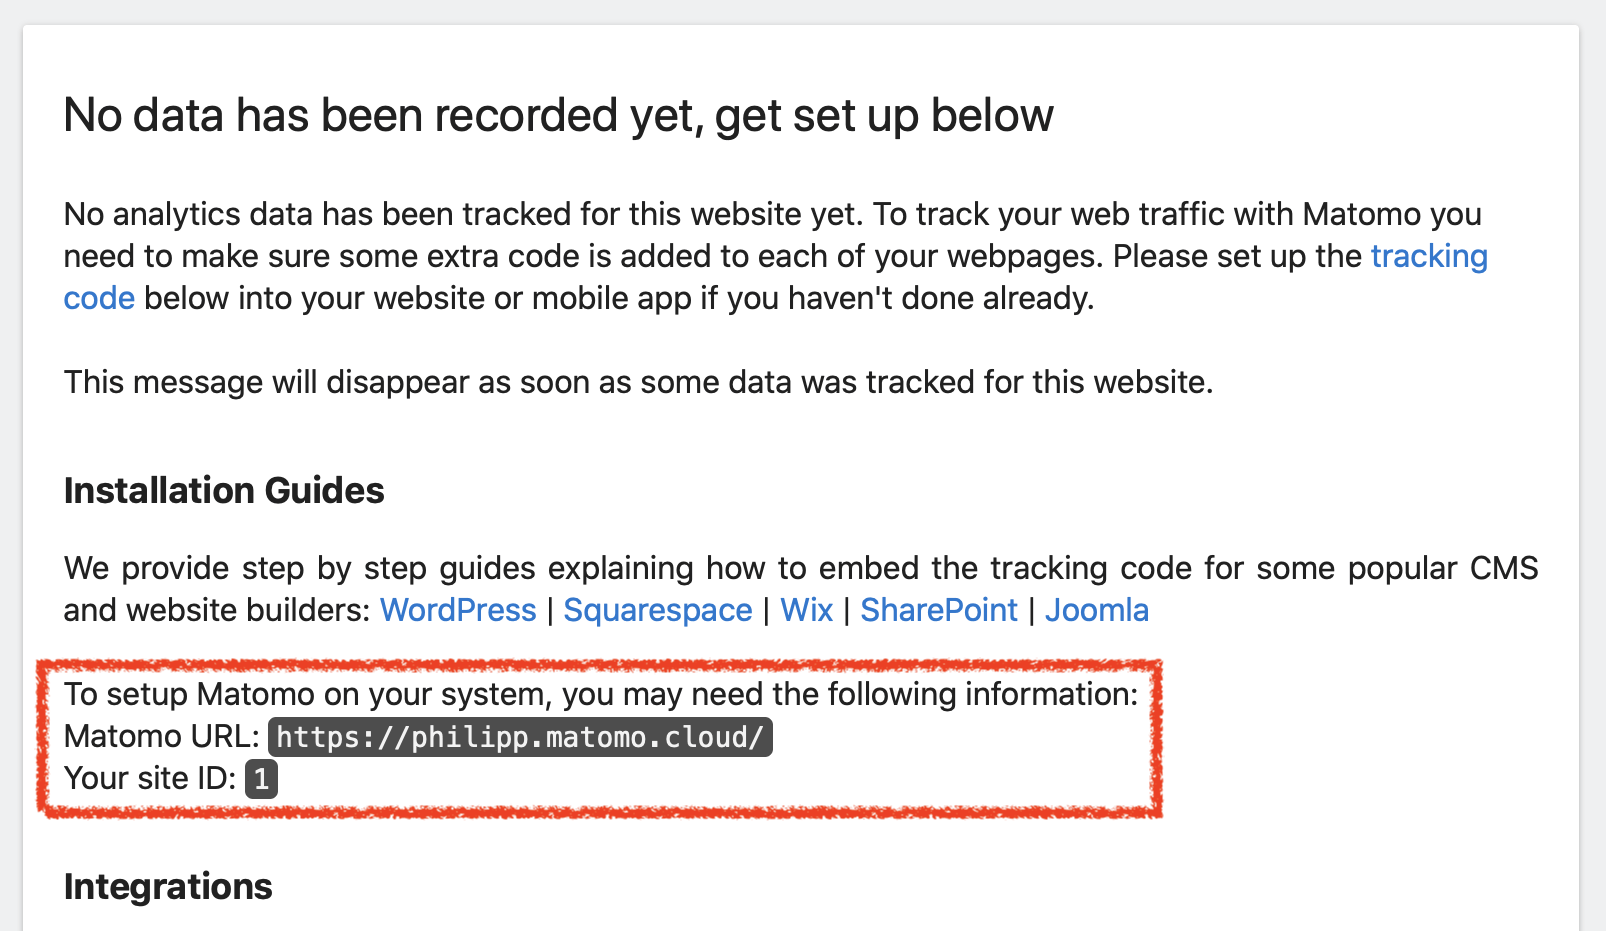
In case you’re a new Matomo user, a “website” entry should already have been created for you automatically. When logging in for the first time, you’ll see your “Matomo URL” and your “Site ID”. You can then continue to the next section.
Click on “All Websites” in the navigation bar, then click on “Add a new website” and add a new entry of type “Website”. Choose a meaningful name (e.g. Philipp’s LineUpr Events) and enter your LineUpr organizer domain including “https://” into the “URLs” input field (e.g. https://philipp.lineupr.com). Activate the option “Only record visits and actions if the action URL starts with one of the above URLs” and set the correct time zone. Then you can save these settings.
Remember the displayed “ID” of your newly created entry for the next step (if this is your first entry, the ID will likely be number 1).
Activate Matomo in Your Event Settings
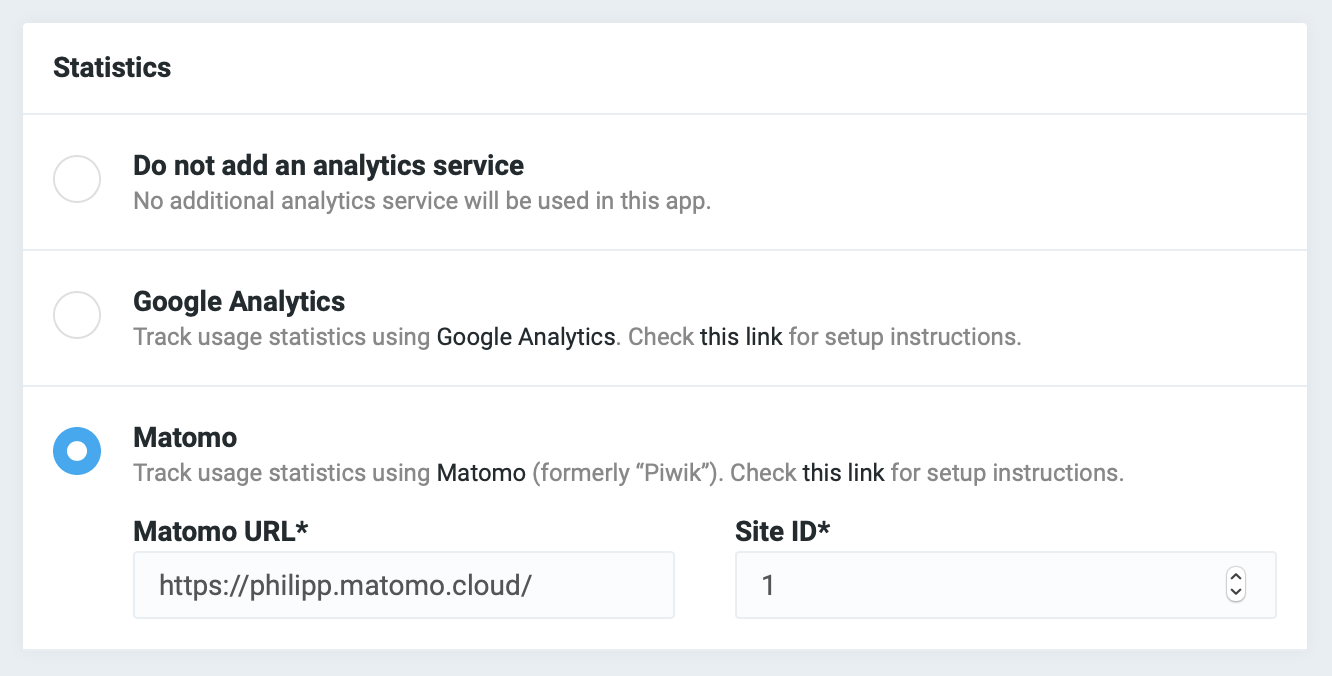
Open the app for which you want to collect statistics in your LineUpr Manager, go to the section Settings → General and scroll down to the box “Statistics”. There select the option “Matomo”, enter your Matomo URL including “https://” (e.g. https://philipp.matomo.cloud or the URL of your self-hosted Matomo instance) and enter the ID from the previous step into “Site ID”. Then click on “Save changes”.
Access Your Statistics
That’s it. The usage statistics of your app are now collected by Matomo and will be displayed on the Matomo dashboard.